Last Updated on August 7, 2025
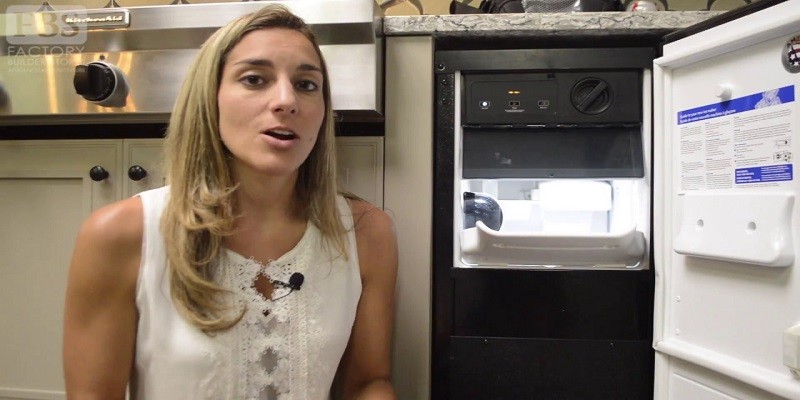
To clean a kitchenaid ice maker, start by unplugging the unit and removing any ice or water. Use a soft cloth and warm, soapy water to wipe down all surfaces, including the ice bin and ice scoop.
Rinse with clean water and dry thoroughly before plugging the ice maker back in. Regular cleaning removes any buildup and keeps your ice maker working efficiently. Maintain cleanliness by wiping down the exterior regularly and checking for any clogs or blockages in the water lines.
Credit: www.kitchenaid.com
The Importance Of Regular Cleaning
Regular cleaning is essential for maintaining the kitchenaid ice maker’s functionality. Learn how to clean it effectively to avoid any issues and ensure optimal performance.
Regular cleaning is crucial for maintaining your kitchenaid ice maker. Keeping your ice maker clean not only ensures the production of clean and healthy ice cubes but also helps extend the lifespan of your appliance. By regularly cleaning your kitchenaid ice maker, you can prevent potential issues like bacteria growth, foul odors, and decreased ice production.
Cleaning your ice maker may seem like a daunting task, but the benefits far outweigh the effort. Here’s why regular cleaning is crucial for maintaining your ice maker:
- Prevent bacteria growth: Over time, bacteria can accumulate in your ice maker, contaminating the ice cubes it produces. Regular cleaning helps prevent the growth of harmful bacteria, ensuring that the ice you use for drinks or food preparation is safe and healthy.
- Eliminate foul odors: The accumulation of mineral deposits, mold, and other contaminants can lead to unpleasant odors emanating from your ice maker. Regularly cleaning your ice maker helps eliminate these foul smells, ensuring that your ice cubes are odorless and taste fresh.
- Maintain optimal performance: A clean ice maker operates more efficiently, producing ice cubes at the desired rate and size. Regular cleaning helps remove built-up debris and mineral deposits, allowing your kitchenaid ice maker to function optimally and avoid any performance issues.
- Extend lifespan: Just like any other appliance, proper maintenance can significantly extend the lifespan of your ice maker. Regularly cleaning your ice maker not only prevents potential breakdowns but also ensures that all components are working effectively, thereby contributing to its longevity.
- Improve ice quality: By cleaning your ice maker regularly, you can ensure that your ice cubes are crystal clear, tasteless, and free from any impurities. This is particularly important if you use ice cubes for beverages or cocktails, as it enhances the overall drinking experience.
Regularly cleaning your kitchenaid ice maker is essential for maintaining its performance, efficiency, and overall cleanliness. By following a simple cleaning routine, you can enjoy clean and fresh ice cubes that enhance your drinks and keep you and your loved ones safe from harmful bacteria.
Tools And Materials Required For Cleaning
Cleaning your kitchenaid ice maker is easy with the right tools and materials. Gather a soft cloth, warm soapy water, vinegar, a toothbrush, and a dry towel. Use the cloth soaked in soapy water to wipe down the exterior, then scrub the ice maker’s parts with the toothbrush and vinegar.
Dry everything with a towel before reassembling.
Essential Tools And Materials Required For Cleaning
To ensure a thorough cleaning process for your kitchenaid ice maker, you will need the following tools and materials:
- Soft cloth or sponge: A soft cloth or sponge will be essential for wiping down the exterior of the ice maker and removing any dirt or grime.
- Warm soapy water: Use warm water with a mild dish soap to create a gentle cleaning solution for tackling dirt and stains on the ice maker’s surfaces.
- White vinegar: White vinegar is an effective natural cleaner that can help remove mineral deposits and disinfect the ice maker.
- Clean towels: Keep clean towels handy for drying the ice maker after cleaning.
- Toothbrush or small cleaning brush: A toothbrush or small cleaning brush will be useful for reaching tight spaces and cleaning hard-to-reach areas of the ice maker.
- Ice scoop or tongs: If your ice maker has an ice storage bin, an ice scoop or tongs will be necessary for removing ice before cleaning.
- Bucket or basin: Prepare a bucket or basin to hold the warm soapy water or vinegar solution for cleaning.
- Distilled water: If your ice maker has a water reservoir, using distilled water for cleaning can help prevent mineral buildup and maintain the ice maker’s performance.
- Soft-bristle brush: A soft-bristle brush can be used to scrub away stubborn stains or residue from the ice maker’s components.
Having these tools and materials ready before you start the cleaning process will ensure a smooth and efficient experience. Remember to prioritize safety by using non-toxic cleaning products and following proper cleaning guidelines for your kitchenaid ice maker.
Step-By-Step Guide To Cleaning Your Kitchenaid Ice Maker
Discover how to effectively clean your kitchenaid ice maker with this step-by-step guide. Keep your ice maker in optimal condition with these simple yet effective cleaning techniques.
Preparing The Ice Maker For Cleaning
Before you begin cleaning your kitchenaid ice maker, there are a few important steps to follow to ensure a successful and efficient cleaning process.
- Gather all the necessary supplies: You will need a soft cloth or sponge, warm soapy water, a cleaning solution approved for ice makers, and a clean towel.
- Disconnect the ice maker: Make sure to unplug the ice maker from the power source to avoid any electrical accidents during the cleaning process.
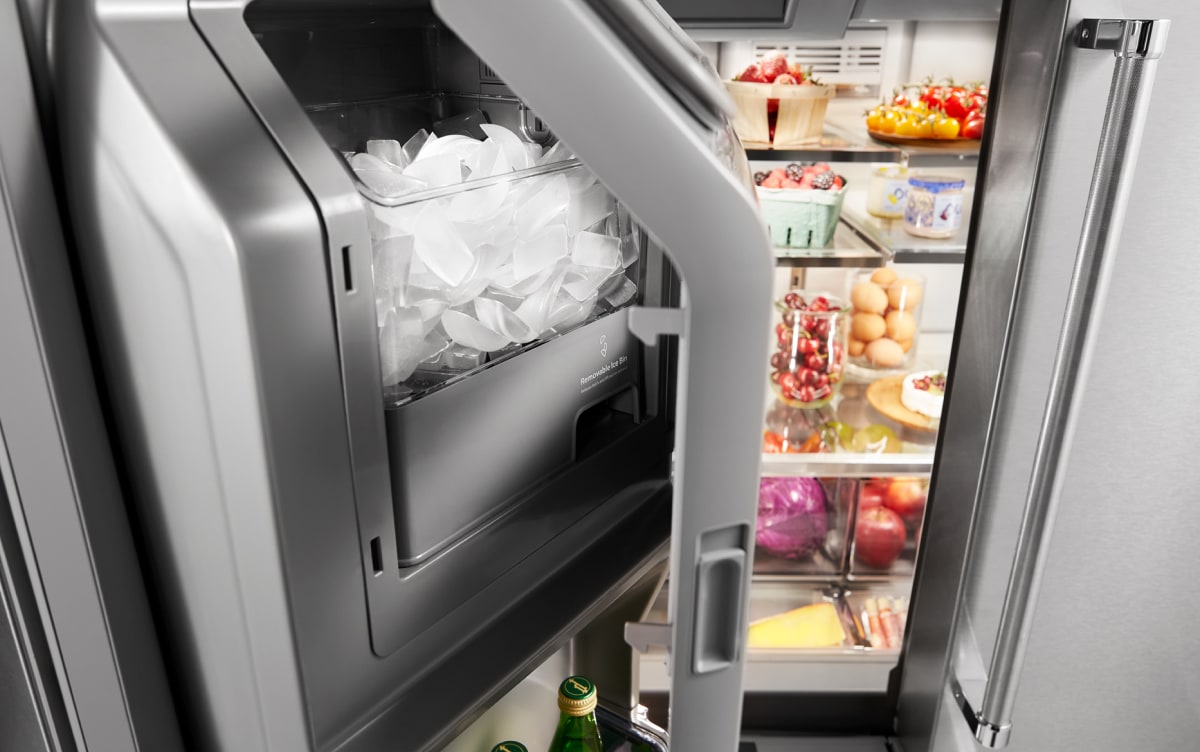
- Empty the ice bin: Remove all ice cubes from the ice bin and discard them. It’s important to start with a clean slate before proceeding with the cleaning process.
Removing And Cleaning The Ice Bin
The ice bin is where the ice cubes are collected and stored before they are dispensed. Cleaning the ice bin will help ensure the production of clean and fresh-tasting ice cubes.
- Remove the ice bin: Depending on your model, you may need to press a release button or lift a lever to detach the ice bin from the ice maker.
- Empty and wash the ice bin: Empty any remaining ice cubes from the bin and wash it with warm soapy water. Ensure you scrub the bin thoroughly to remove any residues or build-up.
- Rinse and dry the ice bin: Rinse the ice bin with clean water to remove any soap residue. Then, dry it completely with a clean towel before reattaching it to the ice maker.
Cleaning The Interior Components Of The Ice Maker
To maintain the efficiency and functionality of your kitchenaid ice maker, it’s essential to clean its interior components regularly.
- Locate and clean the ice maker parts: Open the ice maker and identify the various interior components such as the ice mold, water supply tube, and ice cutter grid. Use a soft cloth or sponge to wipe down these parts, removing any dirt, debris, or mineral deposits.
- Pay special attention to the ice mold: The ice mold is where the ice cubes are formed. Give it extra attention by using a cleaning solution approved for ice makers. Follow the manufacturer’s instructions for using the solution to effectively clean the mold.
- Clean the water supply tube: Mineral deposits can accumulate in the water supply tube over time, affecting the ice maker’s performance. Use a small brush or pipe cleaner to gently clean the tube and remove any build-up.
Properly Sanitizing The Ice Maker
After cleaning the interior components, it’s crucial to sanitize the ice maker to ensure the production of safe and contaminant-free ice cubes.
- Prepare a sanitizing solution: Mix a sanitizing solution approved for ice makers according to the manufacturer’s instructions. This solution will help eliminate any potential bacteria or mold.
- Apply the sanitizing solution: Use a clean cloth or sponge soaked in the sanitizing solution to wipe down all the interior components of the ice maker thoroughly. Ensure that you cover all areas, including the ice mold, water supply tube, and ice cutter grid.
- Let it sit and rinse: Allow the sanitizing solution to sit in the ice maker for the recommended time specified by the manufacturer. Then, rinse all the components with clean water to remove any remnants of the solution.
Reassembling And Restarting The Ice Maker
Once the cleaning and sanitizing process is complete, it’s time to put everything back together and restart your kitchenaid ice maker.
- Dry the components: Ensure that all the interior components are completely dry before reassembling them. Use a clean towel or allow them to air dry.
- Reattach the ice bin: Carefully align the ice bin with the ice maker and securely attach it. Make sure it is properly locked in place.
- Plug in the ice maker: Reconnect the ice maker to the power source and turn it on. Check that it is functioning correctly and producing ice cubes.
- Dispose of the first batch of ice: To remove any remaining cleaning or sanitizing solution from the system, discard the first few batches of ice cubes produced by the ice maker.
- Enjoy clean ice: Congratulations! Your kitchenaid ice maker is now clean, sanitized, and ready to provide you with fresh, clean ice cubes for your enjoyment.
Maintenance Tips To Keep Your Ice Maker Clean And Efficient
Regular maintenance is essential for keeping your kitchenaid ice maker clean and efficient. Follow these tips to ensure optimal performance and longevity of your ice maker.
Maintenance Tips To Keep Your Ice Maker Clean And Efficient:
Regular maintenance practices are essential for preventing build-up and odors in your kitchenaid ice maker. By following these tips, you can ensure that your ice maker stays clean and functions efficiently:
- Cleaning the ice maker:
- Regularly clean the interior and exterior of your ice maker using warm, soapy water.
- Remove any ice or debris from the ice bin and wipe it down with a cloth.
- Use a soft brush or toothbrush to clean hard-to-reach areas, such as the drain and water inlet.
- Rinse all surfaces thoroughly with clean water and dry them completely before use.
- Changing the water filter:
- Replace the water filter every six months or as per the manufacturer’s instructions.
- This helps maintain the quality and taste of the ice, preventing any impurities from entering the ice-making process.
- Ensuring proper ventilation:
- Make sure the ice maker has enough space around it for proper air circulation.
- Avoid blocking the vents or placing objects on top of the ice maker, as this can affect its performance.
- Inspecting the water supply line:
- Regularly check the water supply line for any leaks or kinks.
- If you notice any issues, immediately repair or replace the line to prevent water damage.
By following these maintenance practices, you can keep your kitchenaid ice maker clean and running efficiently for years to come.
Tips For Extending The Lifespan Of Your Kitchenaid Ice Maker:
To make the most out of your kitchenaid ice maker and ensure its longevity, consider implementing the following tips:
- Proper installation:
- Ensure that your ice maker is installed on a level surface to prevent any strain on the unit.
- Follow the manufacturer’s instructions carefully during installation.
- Regularly check the water quality:
- Poor water quality can affect the performance and lifespan of your ice maker.
- Use a water testing kit to check the quality and hardness of your water.
- Install a water filter or water softener if necessary to improve water quality.
- Avoid overfilling the ice bin:
- Overfilling the ice bin can put excessive strain on the ice maker’s components.
- Regularly remove excess ice to prevent any damage.
- Use your ice maker frequently:
- Running your ice maker regularly helps maintain its functionality and prevents any build-up.
- If you don’t require large amounts of ice, consider using the “max ice” function on occasion to clear any stagnant water or ice.
By incorporating these tips into your ice maker maintenance routine, you can extend its lifespan and ensure optimal performance.
Common Troubleshooting Issues And How To Address Them:
Despite proper maintenance, you may encounter some common issues with your kitchenaid ice maker. Here are a few troubleshooting tips for addressing them:
- Ice maker not producing ice:
- Check if the water supply line is properly connected and turned on.
- Ensure that the ice maker is set to “on” and not in the “clean” mode.
- Inspect the water filter for any clogs and replace if necessary.
- If the issue persists, consider contacting customer support or a professional technician.
- Ice cubes are small or misshapen:
- Verify that the water pressure is adequate as low pressure can affect ice production.
- Check if the water supply line is kinked or obstructed and fix it if needed.
- Clean the water inlet and ensure no blockages are affecting water flow.
- Ice tastes or smells bad:
- Replace the water filter if it hasn’t been changed in the last six months.
- Regularly clean the ice bin and ice maker to prevent any odors from forming.
- Ensure that the water supply line is clean and free of impurities.
Remember, if you encounter any persistent issues or are unsure about troubleshooting, it’s always best to consult the manufacturer’s instructions or seek professional assistance.
Frequently Asked Questions On How To Clean Kitchenaid Ice Maker?
How Often Should I Clean My Kitchenaid Ice Maker?
It is recommended to clean your kitchenaid ice maker at least once every six months to ensure optimal performance and hygiene.
What Is The Best Way To Clean A Kitchenaid Ice Maker?
To clean your kitchenaid ice maker, start by unplugging the unit and removing any ice or water. Then, mix a solution of warm water and mild detergent and use a soft cloth to clean the interior and exterior surfaces. Rinse thoroughly and dry before reconnecting the unit.
Can Vinegar Be Used To Clean A Kitchenaid Ice Maker?
Yes, vinegar can be used to clean your kitchenaid ice maker. Mix equal parts of vinegar and water, then use this solution to wipe down the interior and exterior surfaces. Rinse thoroughly and dry before reconnecting the unit.
How Do I Remove Mineral Deposits From My Kitchenaid Ice Maker?
To remove mineral deposits from your kitchenaid ice maker, mix a solution of equal parts water and white vinegar. Pour this solution into the water reservoir and run a few ice-making cycles. This will help dissolve and remove the mineral deposits.
Rinse thoroughly and dry before using.
Are There Any Parts Of The Kitchenaid Ice Maker That Should Not Be Cleaned With Water?
Yes, certain parts of the kitchenaid ice maker should not be cleaned with water. These include the control panel and electrical components. Use a soft, dry cloth to clean these areas. Avoid using water or any liquid cleaning products on them to prevent damage.
Conclusion
To keep your kitchenaid ice maker running smoothly, regular cleaning is essential. By following the steps outlined in this blog post, you can easily maintain your ice maker’s efficiency and prevent any potential issues. Start by unplugging the appliance and removing any loose ice or debris.
Then, clean the interior with a mild soap solution and a soft cloth. Remember to rinse thoroughly to remove any traces of soap. Don’t forget to clean the ice maker’s exterior as well, using a damp cloth. Finally, sanitize the ice bin and ice scoop using a mixture of one tablespoon of bleach and one gallon of water.
Allow the parts to air dry completely before reassembling and plugging back in. By incorporating these cleaning tips into your routine, you can ensure your kitchenaid ice maker continues to produce fresh, clean ice for years to come.